Built-in Android Mail App
These instructions might vary slightly across devices and versions, but are expected to be helpful to all users of the Android OS.
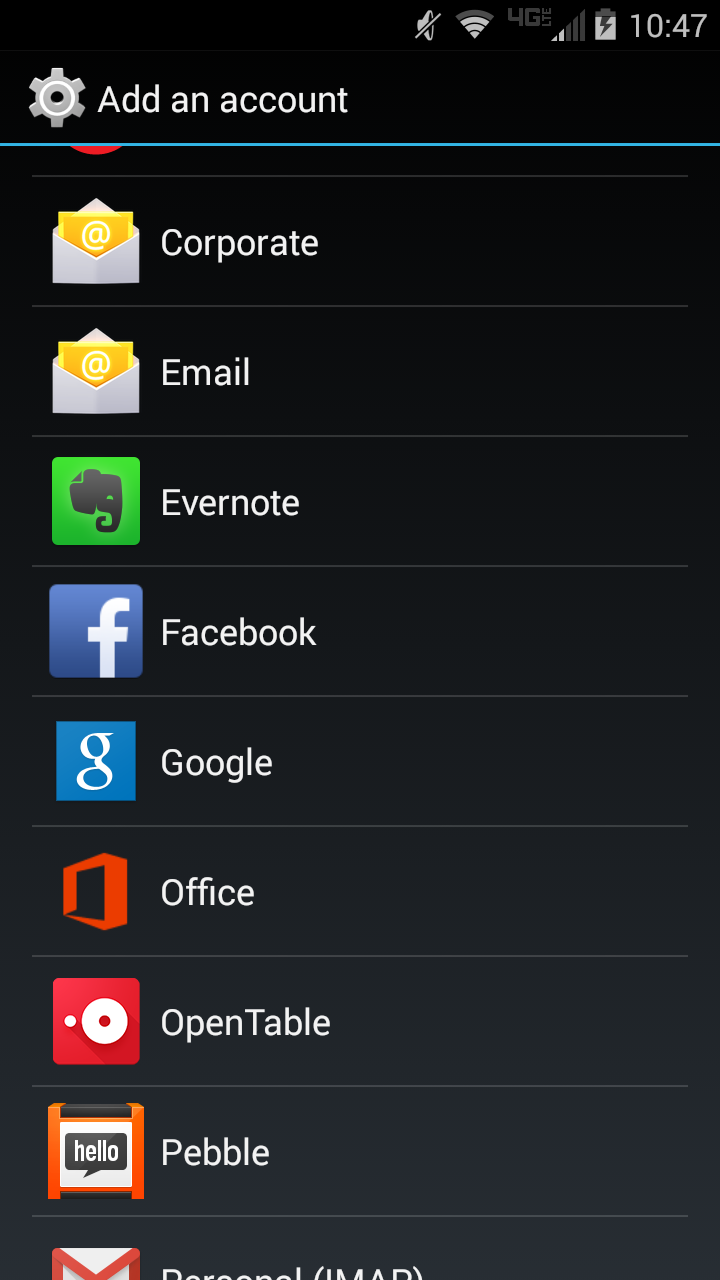
Navigate to Settings.Under Accounts, select Add Account.Depending on your version of Android, select either Corporate or Microsoft Exchange ActiveSync.
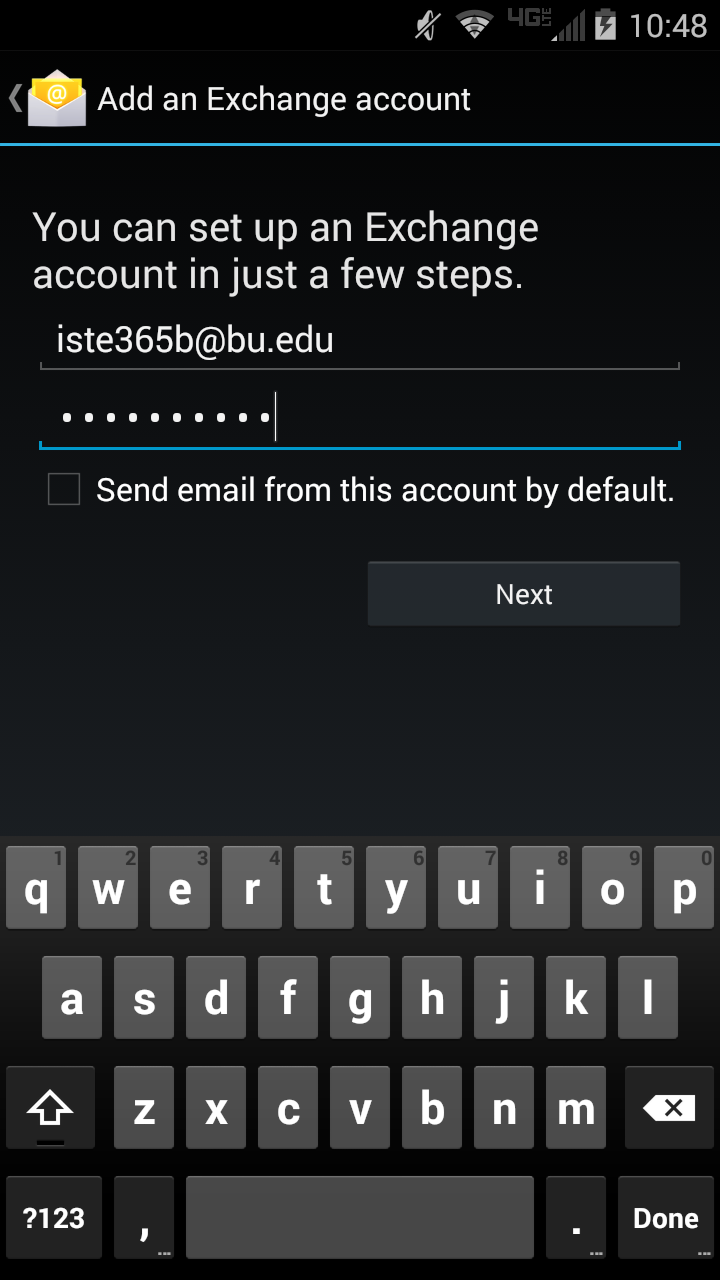
 Image RemovedEnter your complete e-mail address, which is login@bu.edu (where login is your BU login name.)
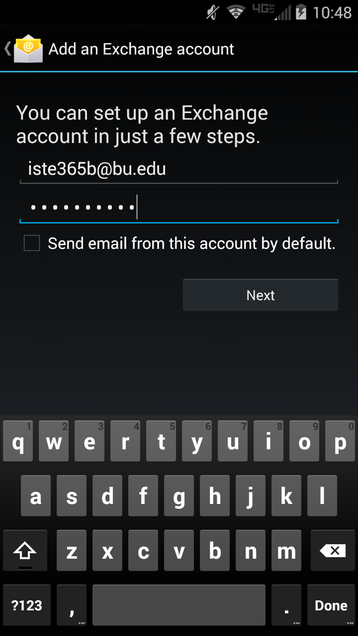 Image RemovedEnter your Kerberos password.Click Next.If prompted enter outlook.office365.com for the server address.If prompted check Use Secure Connection and Accept All SSL Certificates.
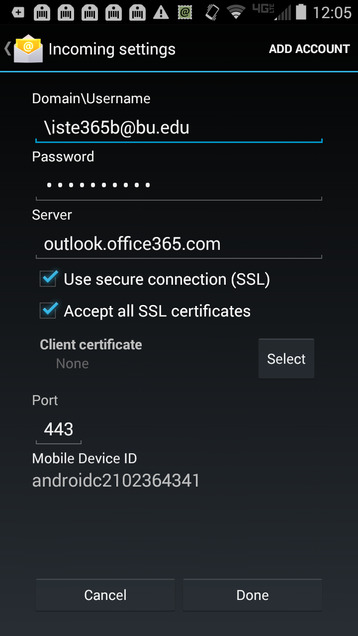 Image RemovedSet your Account options such as Days To Sync, Notifications, Sync Contacts, Sync Calendar.
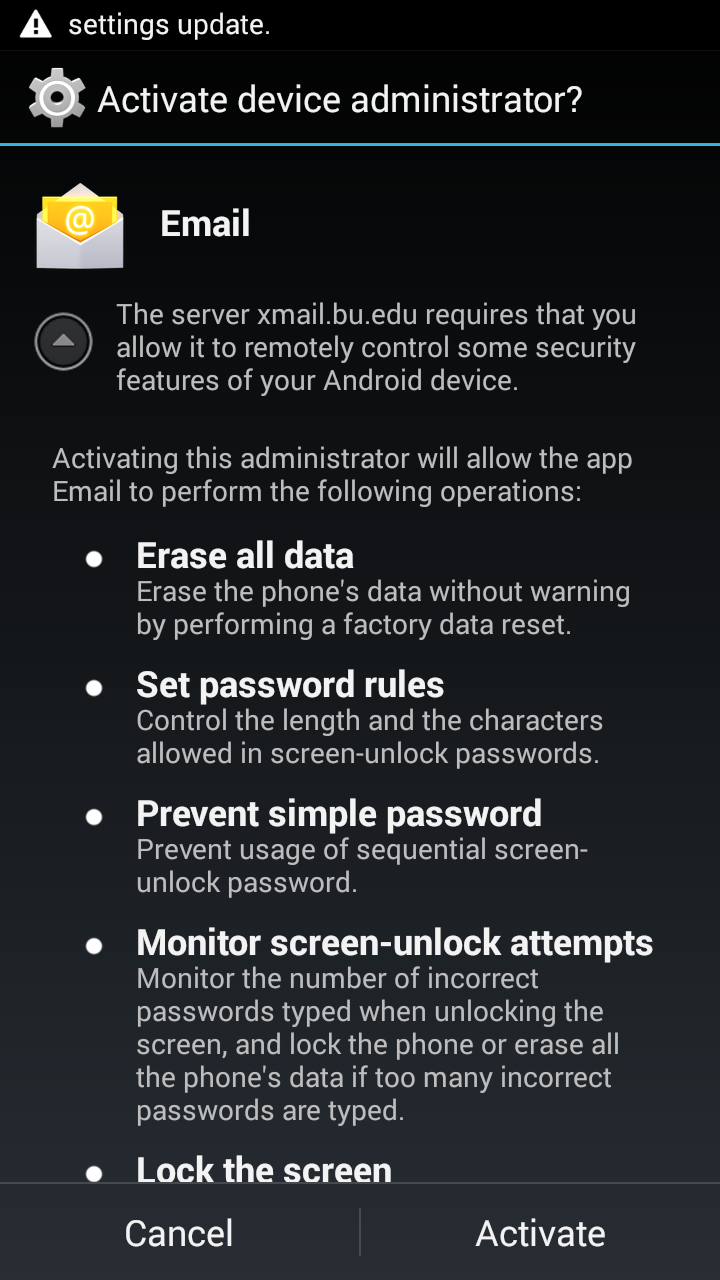
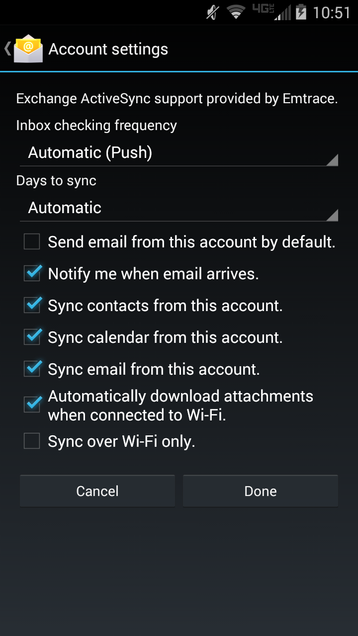 Image RemovedClick Done.Click Activate to activate device administrator.
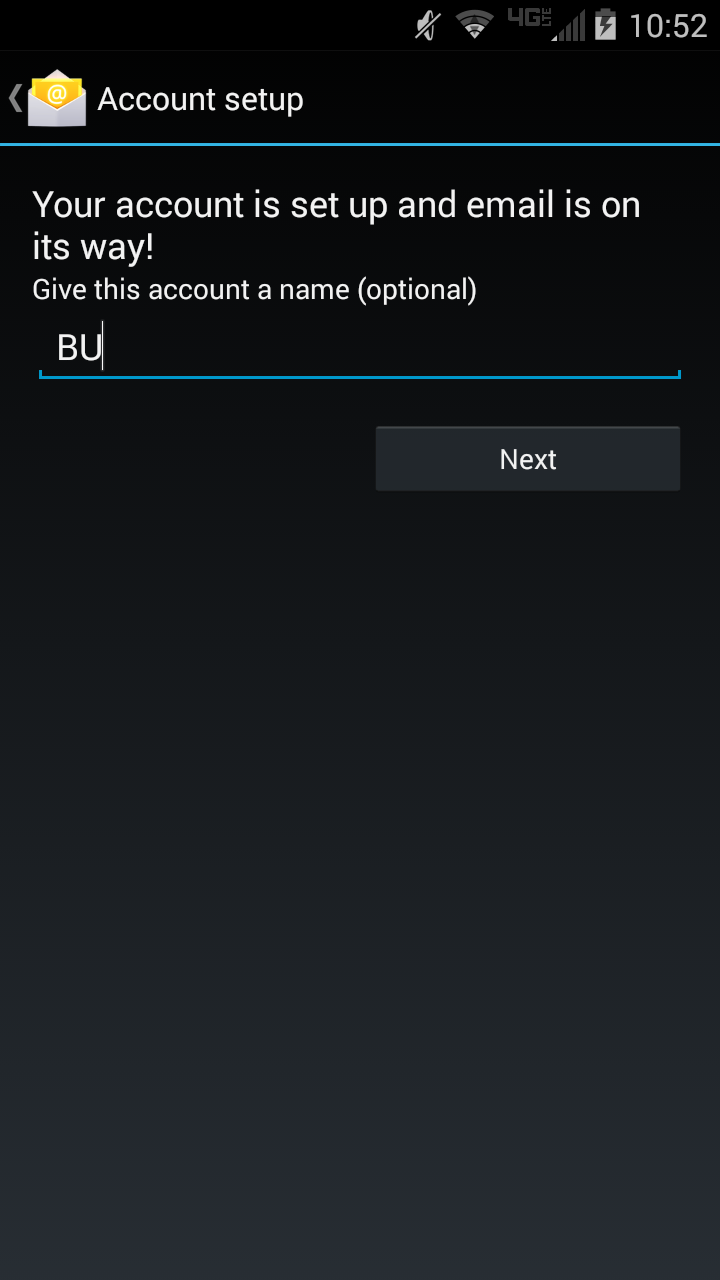
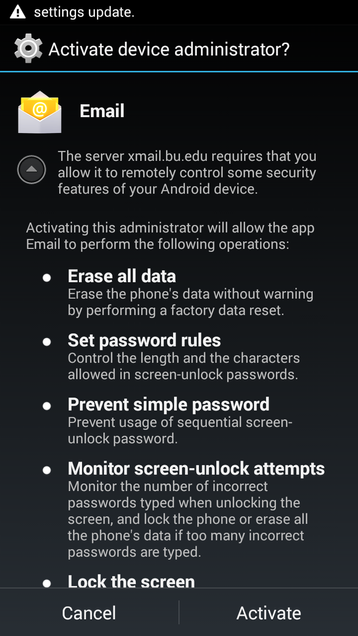 Image RemovedName the account to distinguish between multiple accounts.
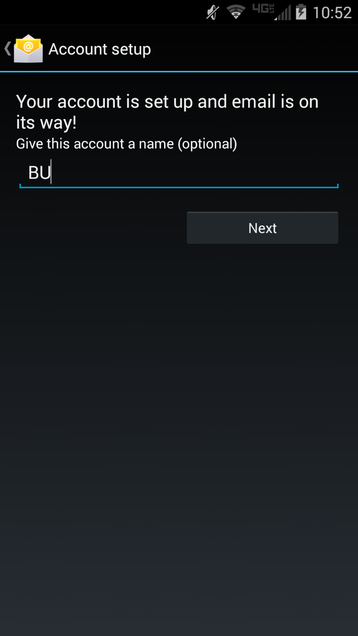 Image RemovedClick Next
- Open the Gmail App.
- Tap the Menu icon in the upper left corner.
- Select Settings.
- Tap Add Account.
- Select Exchange and Office 365.
- Enter your KU e-mail and tap Next.
- Enter your KU e-mail password and tap Next.
- Tap OK.
- Select the synchronization options according to your requirements.
- Once the setup is complete, you can use the Gmail application on your Android device(s) to access your KU e-mail account.
Related Content
| Filter by label (Content by label) |
|---|
| showLabels | false |
|---|
| max | 5 |
|---|
| spaces | SERT |
|---|
| showSpace | false |
|---|
| sort | modified |
|---|
| reverse | true |
|---|
| type | page |
|---|
| excludeCurrent | true |
|---|
| cql | label = "service-e-mail" and label in ("kb-how-to-article","kb-troubleshooting-article","kb-service-desc-page") and type = "page" and space = currentSpace() |
|---|
| labels | ID Password Account |
|---|
|